Step 1: Select data for training
The model creation process within Neuton begins with creating a new Solution. The solution is the object for training parameters specification, results, and analysis processes management.
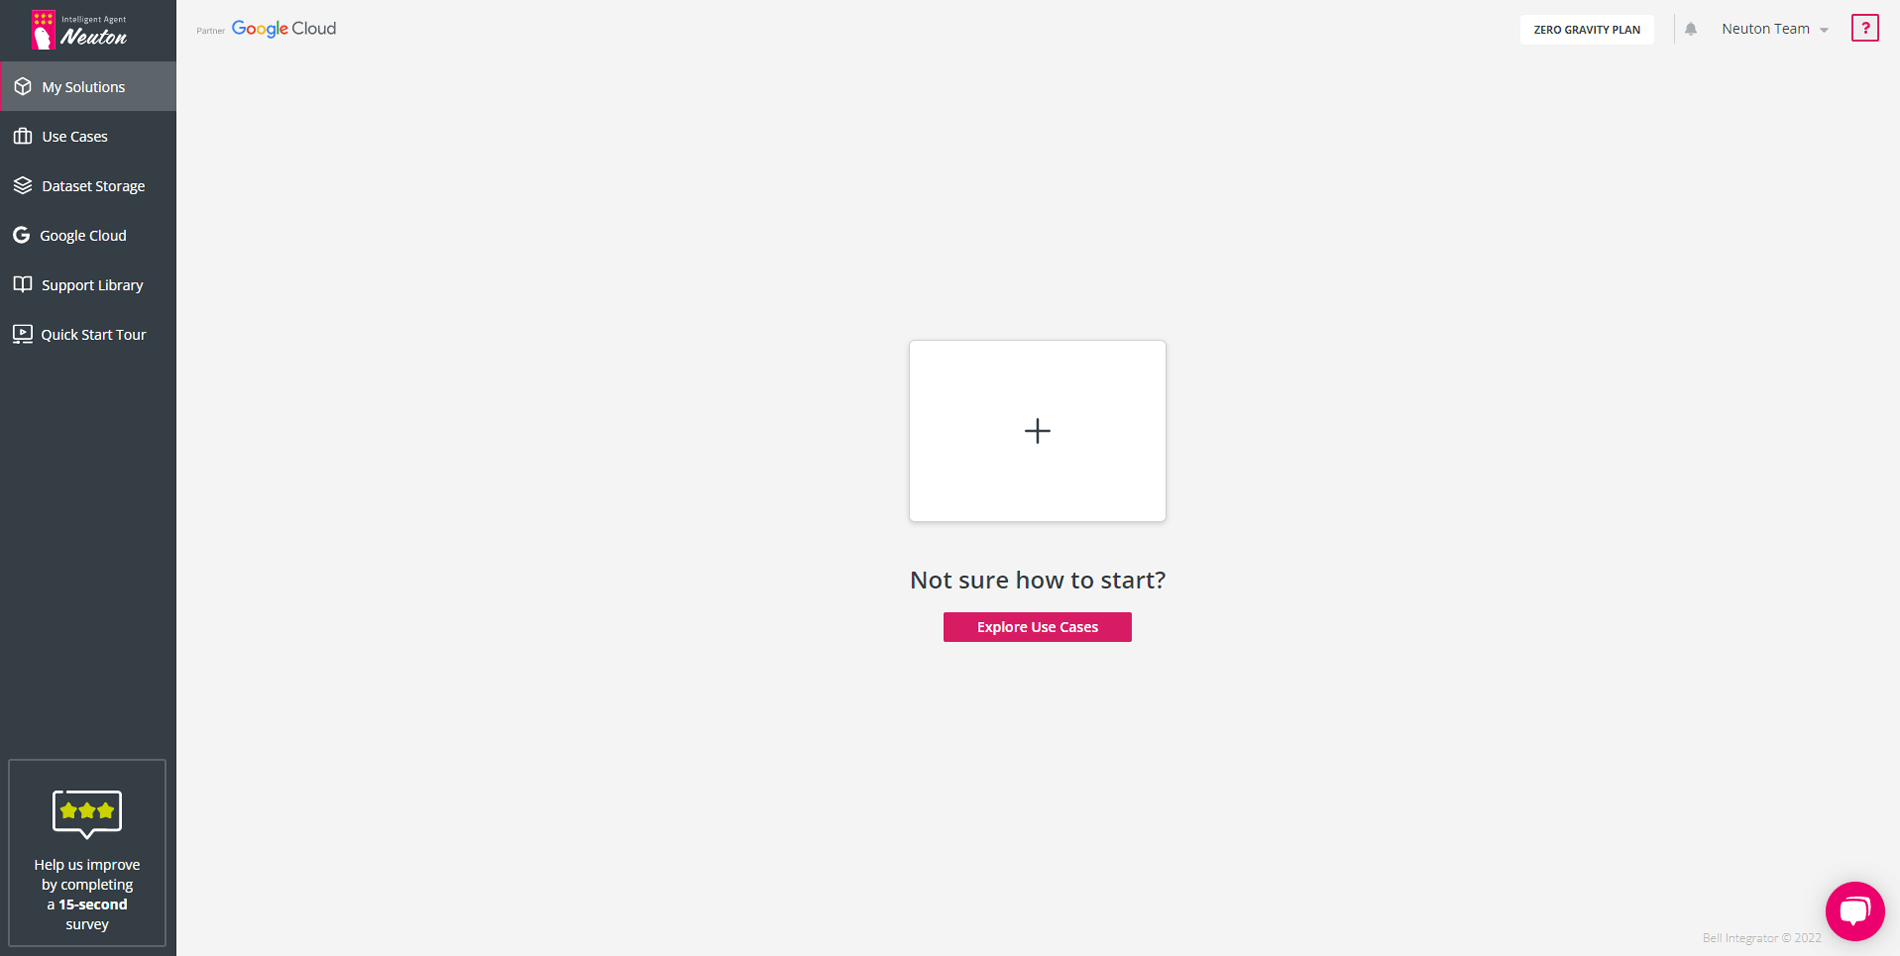
![]()
My Solutions. Default View.
After you have worked with Neuton and created some solutions, you can view and manage your solutions in the “My Solutions” workspace:
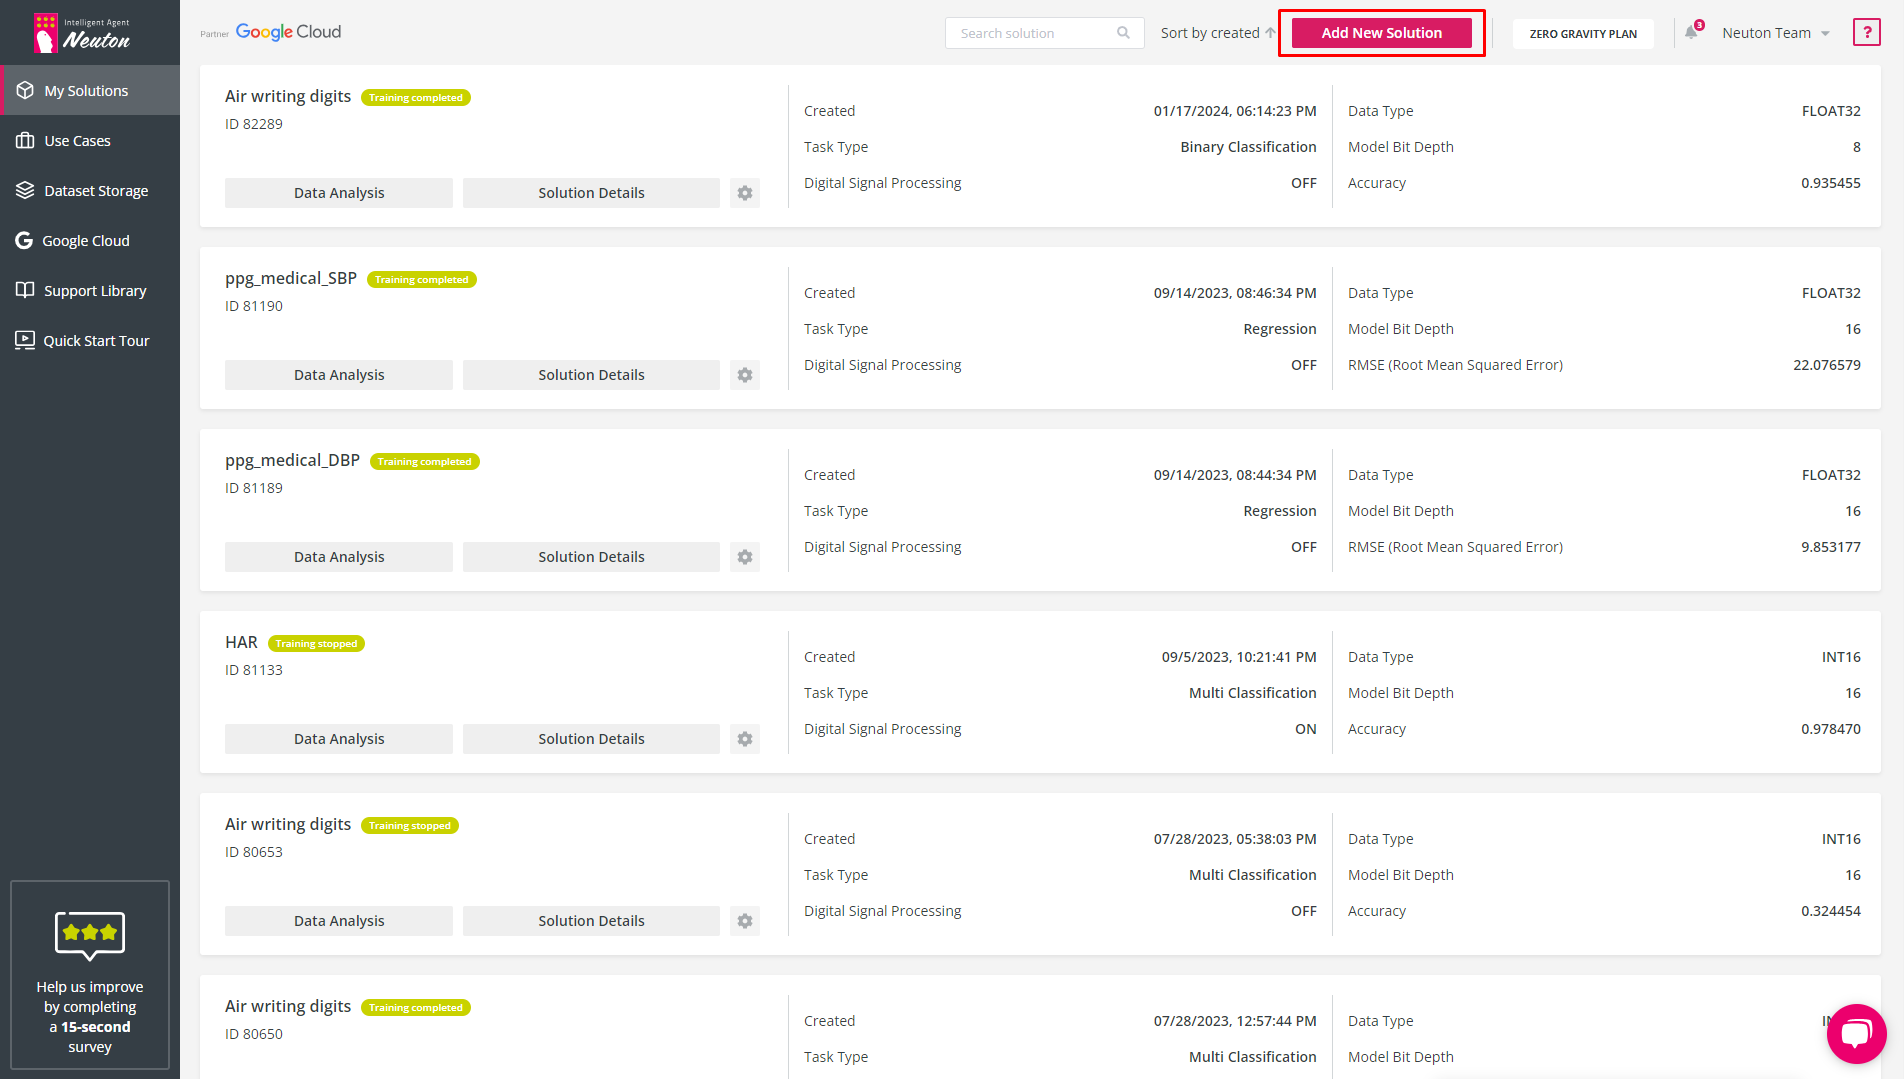
![]()
My Solutions
To create a new solution with a list of previously created solutions click “Add New Solution”. The “New Solution” pop-up window will appear.
Add the desired “Solution Name” in Latin letters.
![]()
New Solution
After that, click “Next” to go to dataset import/selection.
Training dataset selection
Please read first about the requirements for training data in the
Dataset requirements section.
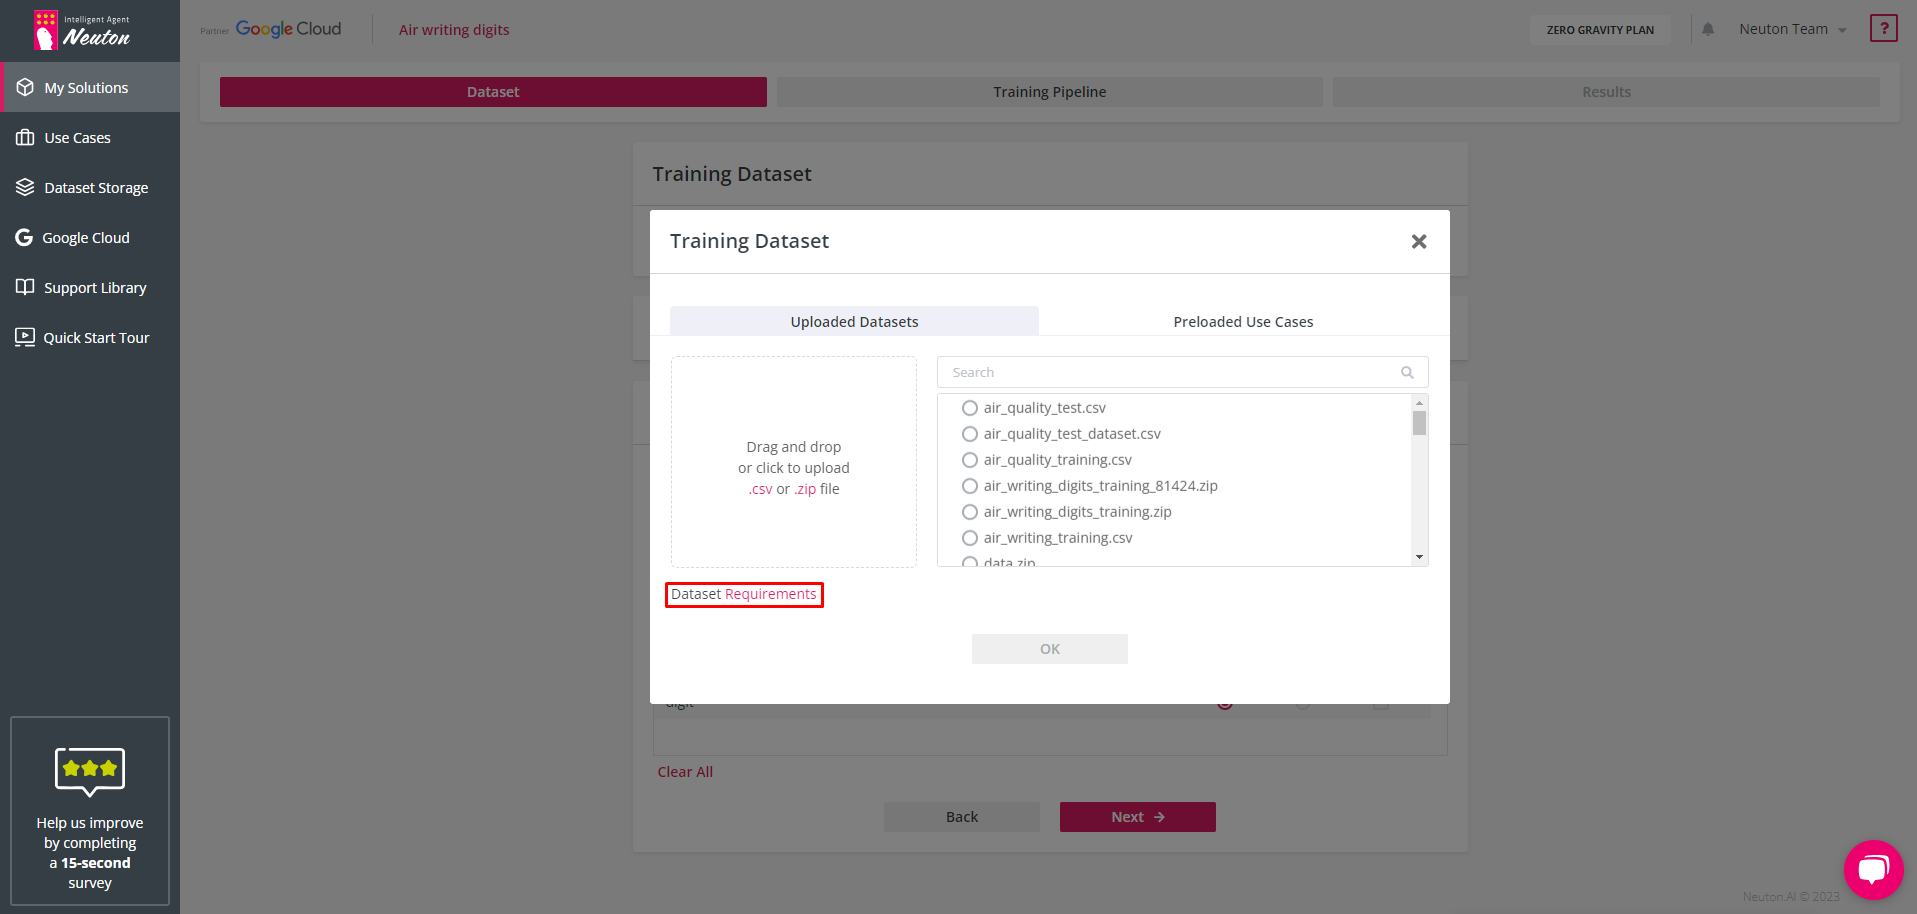
![]()
Uploading Options
To select the dataset you have the following options (tabs):
Uploaded Datasets This tab allows you to upload your own dataset. (This option is not available in the test-drive version. To enable this option, you must subscribe to the
free Zero-Gravity plan.) Also, you can select one of your previously loaded datasets.
Preloaded Use Cases
Neuton provides preloaded datasets (for demonstration and testing purposes).
Select one of these options to specify the training dataset for your solution. One dataset is used to train one model. If your data is represented by several datasets, you need to combine them in advance.
Upon uploading data to the platform, the data is encrypted in the cloud. All the resulting datasets and models are encrypted as well.
Step 2: Upload dataset
Select “Click to upload .csv or .zip file” and browse to the file location on your hard drive (or drag & drop):
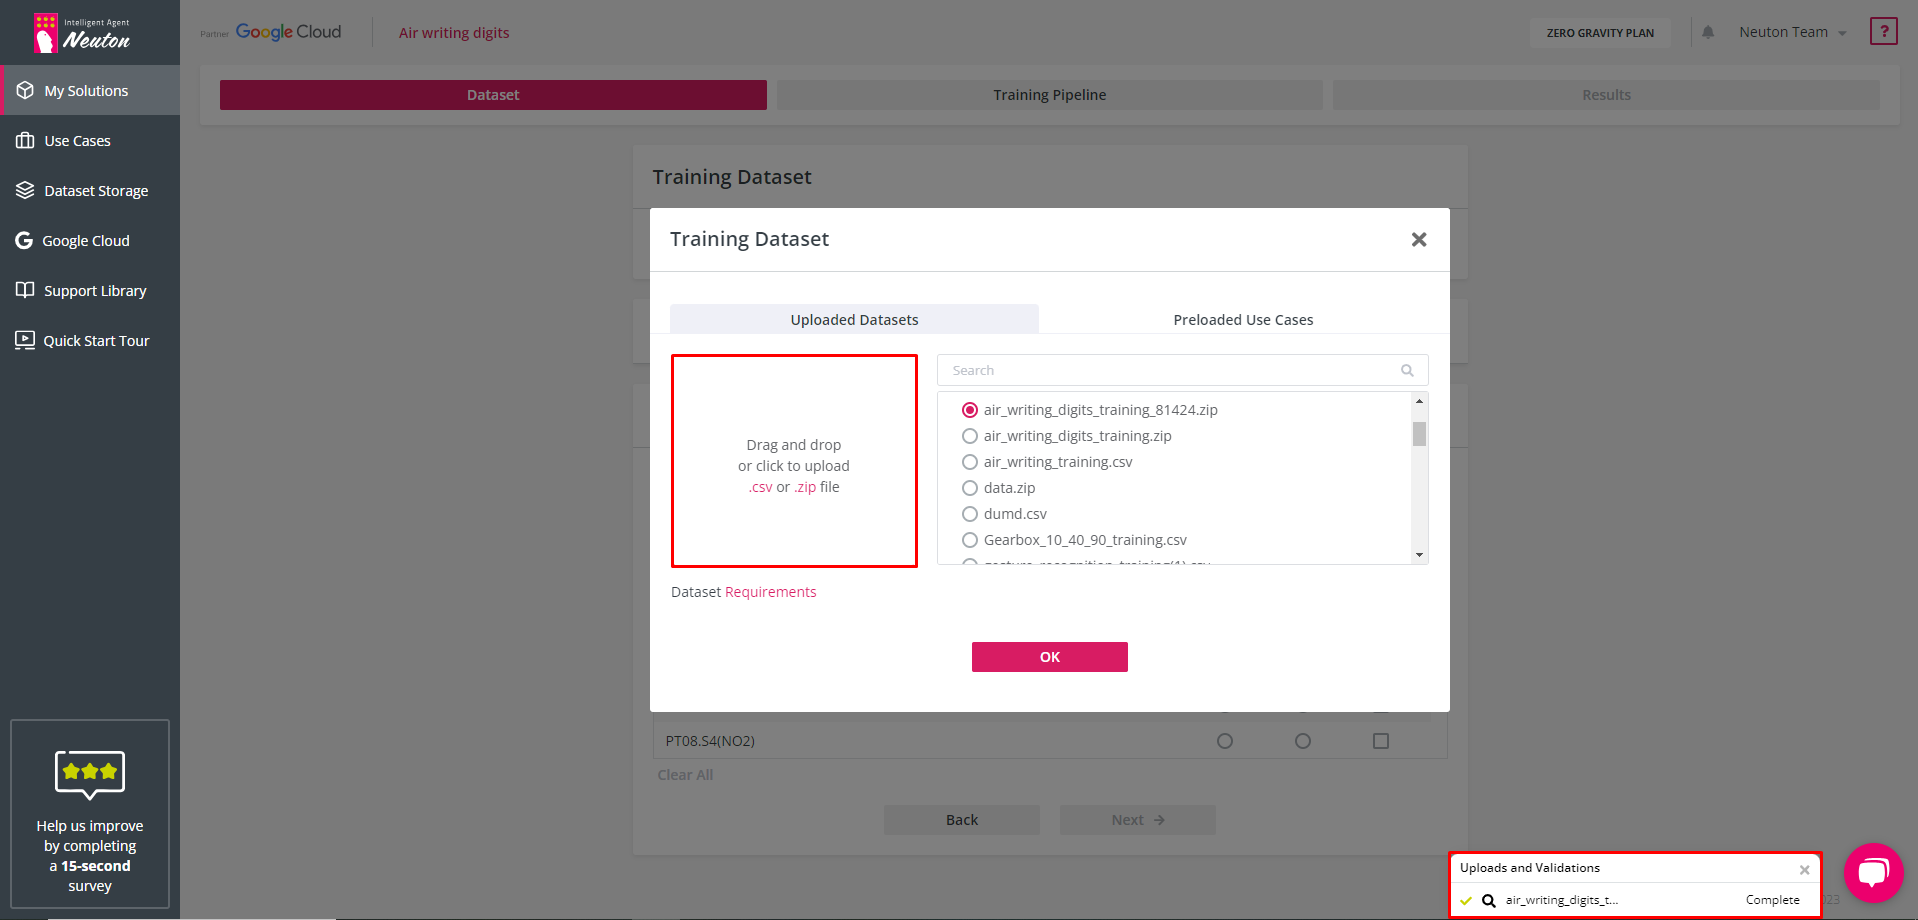
![]()
Uploading a Dataset
During the uploading process platform checks the dataset. If you see an error message you should verify the dataset and upload it again. When the file is successfully uploaded you will see a green check mark.
Machine learning operations cannot be performed on inappropriate data structures and variable types. Please make sure your dataset is processed accordingly. To read more about dataset requirements please refer to the “
Dataset requirements” section.
When the file is uploaded you can preview the selected dataset in the web interface using the "lens" icon. To go to the next steps, press “OK”.
The file name must not contain the following characters: !/[+!@#$%^&*,. ?":{}\\/|<>()[]] If you upload a file with these characters, the platform will automatically rename the file to remove invalid characters from the name and inform you about it.
When uploading a file, the platform checks the uniqueness of the file name. If a file with the same name has already been uploaded, the platform will offer to rename the newly uploaded file. For optimal storage usage, it is recommended to upload a file to the platform once and then select it from the storage.
Selection of Uploaded Datasets
Select one of the existing datasets by navigating to a dataset that has been previously uploaded:
![]()
Selection of Uploaded Datasets
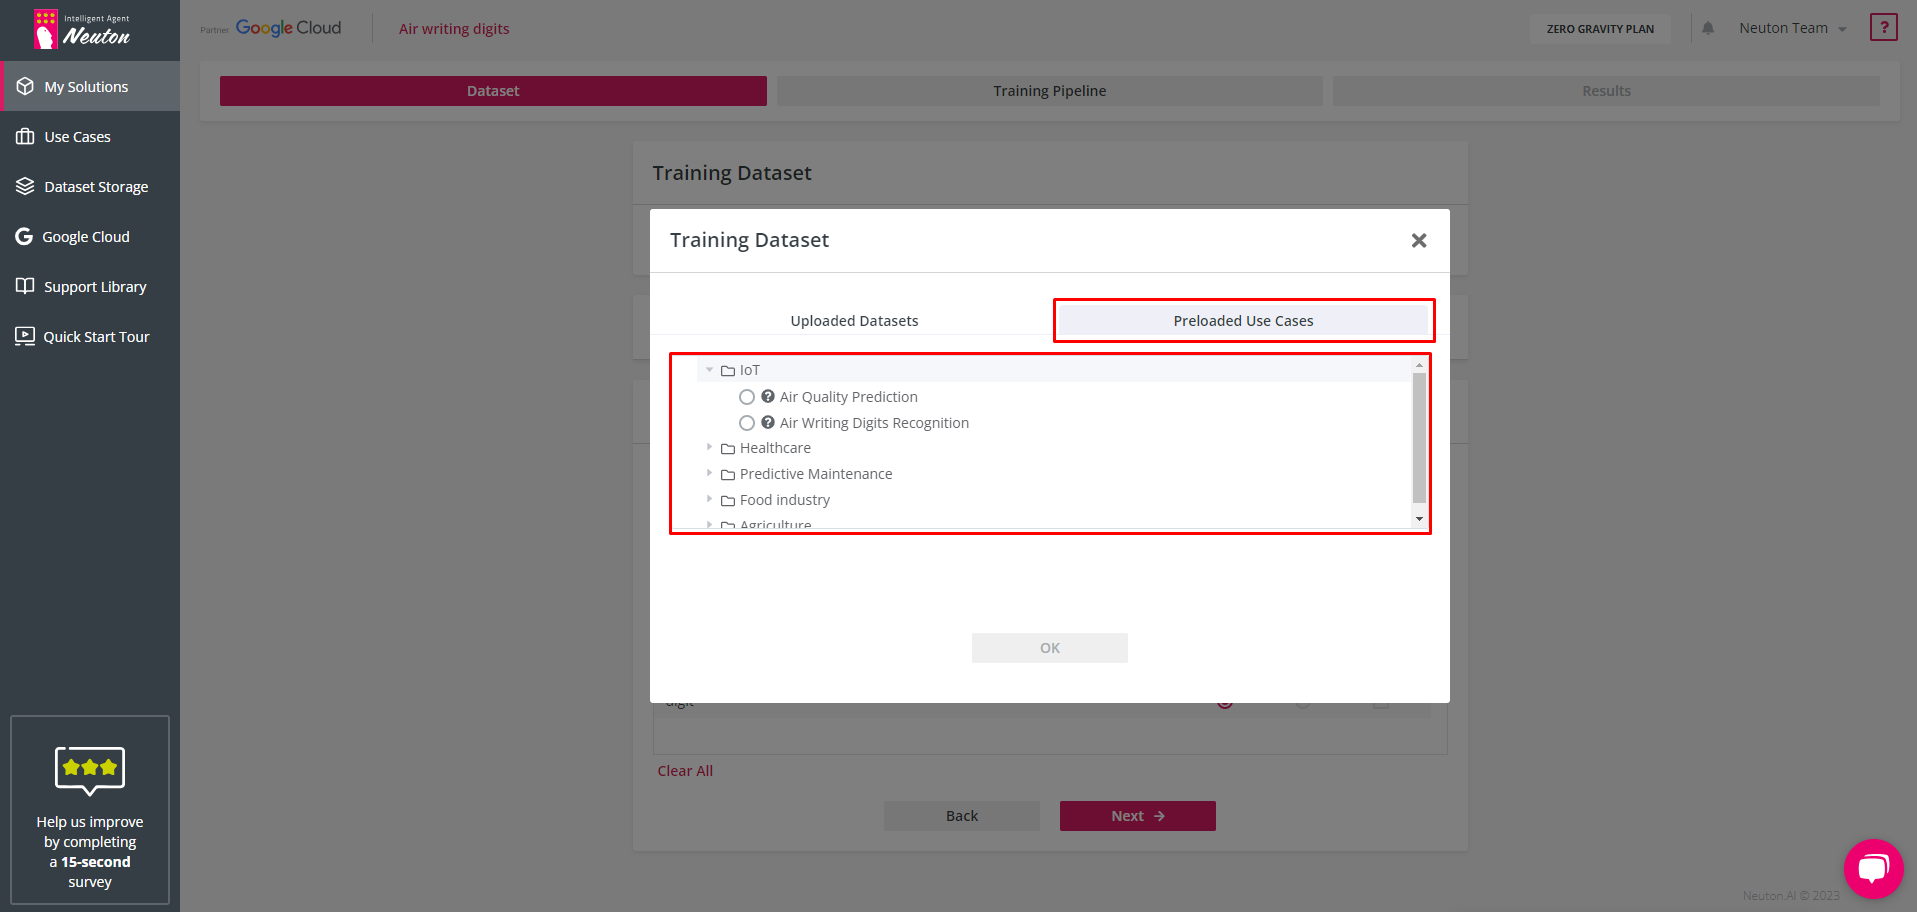
Preloaded Use Cases
Select one of the preloaded datasets by choosing the “Preloaded Use Cases” tab and navigate to the dataset that has been preloaded with Neuton.
To view information about the dataset, click on the corresponding question mark icon “?”
![]()
Preloaded Use Cases
On the Dataset, Training Pipeline, and Results tabs for the preloaded datasets, all settings are preconfigured.
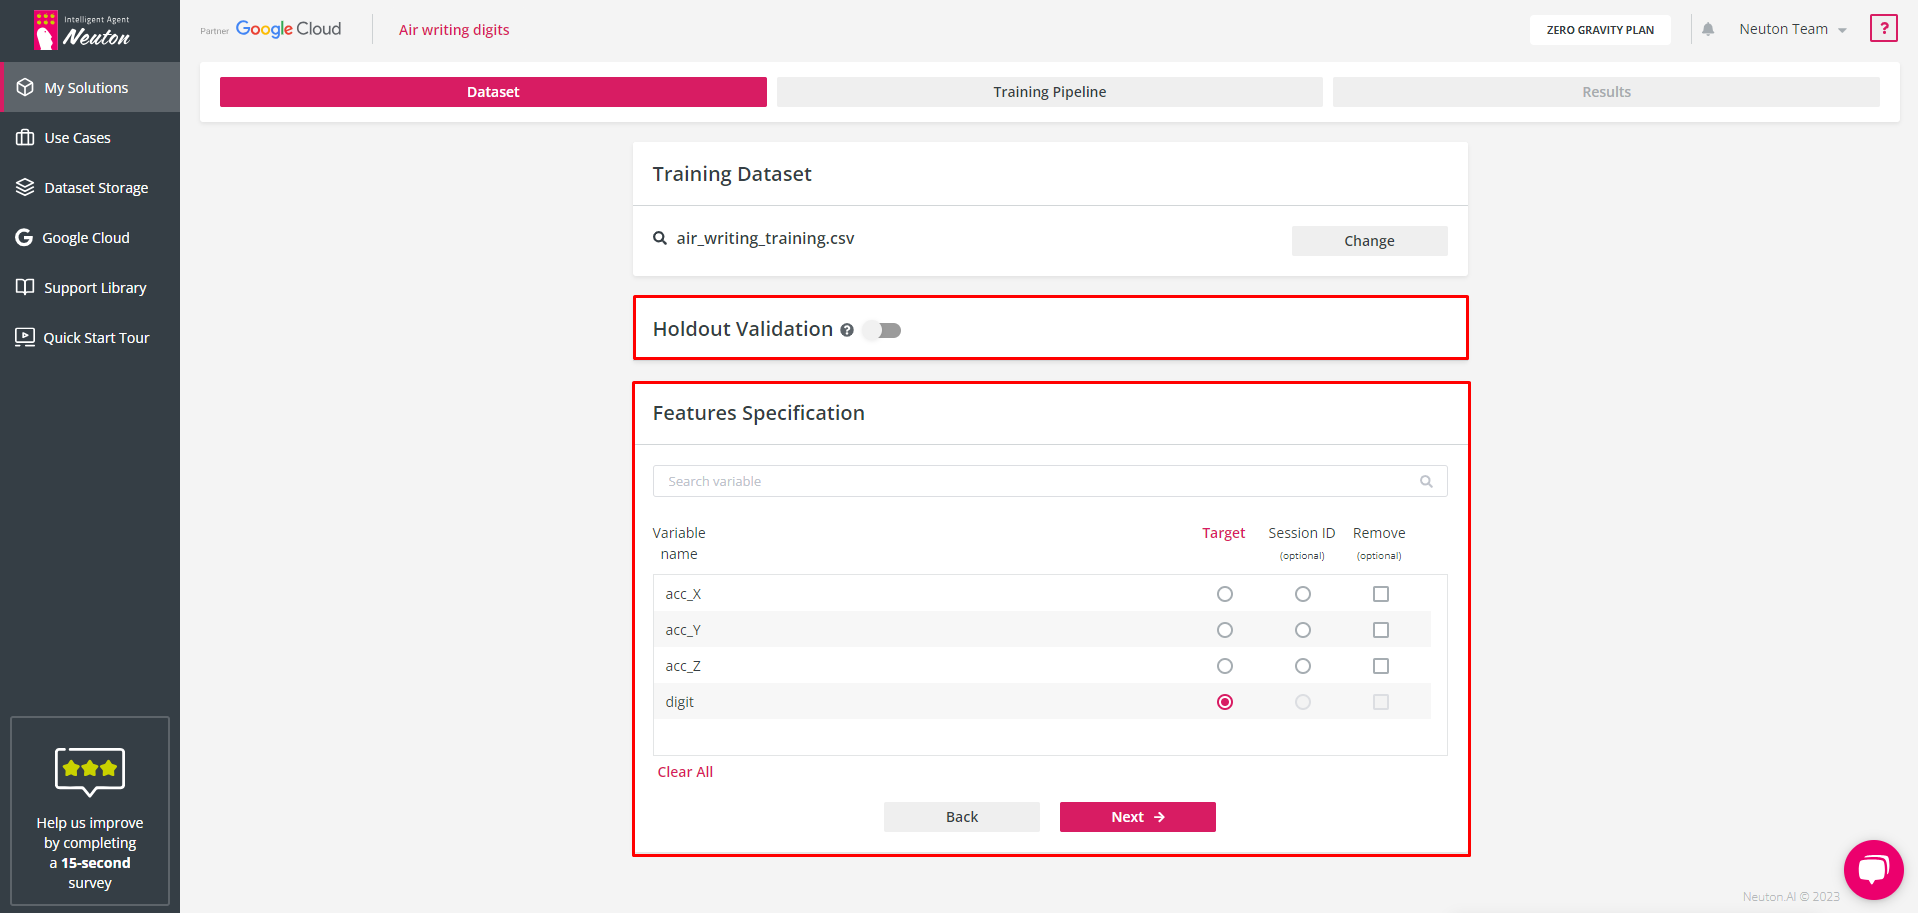
Step 3: Specify dataset options
After the training dataset has been defined you should specify the target column and sessions’ column (If applicable). A session is a part of a dataset describing a time-continuous process. A session ID column can be used to separate different readings from sensors in a time-continuous process dataset. The user can include the Session ID column in the original dataset. This results in the creation of a more precise and concise model. Also, at this stage, you can specify the dataset for holdout validation and drop some feature columns which you consider as irrelevant.
![]()
Dataset Options
To enable holdout validation and specify the dataset for it, turn on the switch button near holdout validation. With the holdout dataset specified the training process will happen in the same way as without the holdout dataset but after model training completion, in addition to the cross validation metrics, metrics will be calculated on the holdout dataset you uploaded. Otherwise, the platform will measure only the validation metric at each training iteration using a 10-fold cross-validation approach. Neuton has a built-in patented feature to prevent overfitting (overtraining) which stops training right before overfitting starts to occur.
The holdout validation dataset must be in the same format as the training dataset.
To exclude some features from the training dataset, mark the check box for the appropriate feature name in the “Remove variables” section. The model will not train on the excluded data. If you select variables to delete, they will be deleted both in the training dataset and in the validation dataset automatically.
Click “Next” to proceed to the training pipeline stage.